Editor's note: This article appears in the print version of March PCT under the headline "Show and Tell."
New-Hire Training, Day 1. Setting: A classroom with about a dozen people, somebody up front with slides and handouts talking about pests and equipment you’ve never heard of. Tension levels? High.
What if we could make training for new hires more digestible — more hands-on and interactive? In my experience as a training manager at Blue Sky Pest Control in Phoenix, Ariz., I have found that a combination of slide presentations and stories, along with hands-on activities, increases new-hire knowledge retention and satisfaction at work. This is nothing new, but I think my approach and training materials are a little different than most … and my trainees agree!
After each training session, I send out an anonymous survey. Invariably, the answer to the questions “What helped you learn the most?” “What helped you remember the lesson?” and “What was the best part of class?” is always the same: my specimen collections. Talking about pest identification, treatment protocols and SOPs while looking at actual specimens creates an interactive environment that is both memorable and fun.
Interested? I hope so. Read on, then try out a few of these techniques. Your training results will improve and be far better than slides alone or, heaven forbid, just reading a handout.
PRESENTATION BASICS. Presentation basics set the foundation and provide you with an opportunity to show off your personality and creativity. Here are a few basics.
Smile. Speak up! Show excitement! This may be your new hire’s first exposure to pest control. They may be nervous, but hopefully they’re excited, too. You want them to stay with your company long-term, right? Think back on when you first started and the people that got you visualizing a future in this field. Did you have a mentor? A love of learning about insects? It is now your job to instill that motivation in your students. Present with energy, give as much of yourself as you can, and it will pay you back tenfold.

Spruce up your slides. If you’re using slideshows as part of your new-hire training, your slides should be visually appealing and vibrant, featuring sharp photos that clearly show the subject matter (see Fig. 3). If talking about the proper use of a Webster brush for knocking down spider webs, for example, then any photo or video presented should be brightly lit, taken outdoors and in sharp focus, with the technique in question filling the frame for ease of viewing. Training videos should be shot at an account or similar location, not simulated at the office. Drab photos and wordy, text-filled slides are certain to lose your audience — avoid them like the plague whenever possible.
Engage your audience. Don’t just read handouts or slides to the class. Use them as a guide, but sum up the subject in your own words. Discuss any photo on the slide as it pertains to the point at hand, using personal stories and experiences to make your lessons relatable. Also, try not to talk to the room exclusively, but rather look your students in the eye, each in turn. Including them this way will help grow engagement.
Keep it brief. The formal portions of any presentation should be relatively short. Break up longer presentations to avoid overload or boredom. Give short breaks or design stopping points to conduct an activity. You’ll find your students will retain more information and have fun doing it.
Go hands-on. This can take many forms, but for our purposes, I will be discussing the use of specimen collections as a learning tool for new hires. I find that while using photos of a pest in a slide presentation is good, letting students handle samples of the pest is even better. But what type of collection should be used? How is a sample made? Where do the specimens (both live and dead) come from? I’ll address these questions next.
Preserved demonstration collections. For some of us, the term “collection” can be cringe-worthy. So much time and labor! I had to make so many insect collections in school that the thought of making them for work was certainly off-putting. The idea of pinning hundreds of specimens, perfectly aligned and tagged, was not an option for me. One, I didn’t have the time, and two, a traditional pinned collection was far too fragile for passing around the classroom. I considered several other options and decided to stick with simple. I like simple.
STEP 1: OBTAINING SAMPLES
Where do you get the pests to preserve? Start out by asking technicians and inspectors to bring in samples. Specify that they should try to keep these samples alive or at least fresh. If they can put them in a cooler, that’s even better — that way, the samples won’t start to rot before you get them. Other sources of insect pests for a collection may be advanced hobbyists or professional insect keepers, or you could collect samples yourself on the job. You’ll be surprised how quickly your collection grows.
STEP 2: LABELING
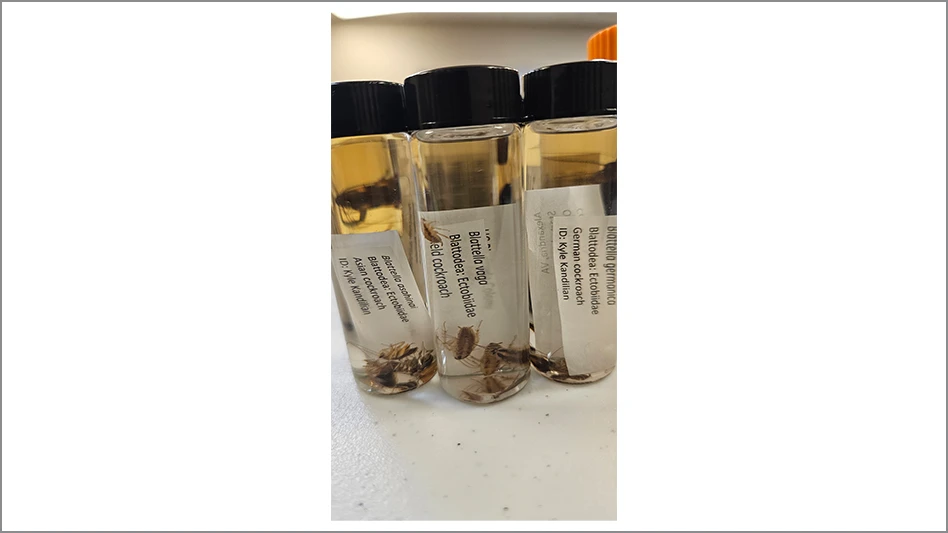
Use a glass vial with a Teflon lined screw cap. I use mostly 3 dram vials depending on specimen size. Each specimen vial will need two labels: an identification label and a collection label. The identification label should indicate the genus and species of the specimen, followed by the order and family information, the common name, and finally, the name of the person who identified the specimen. For the collection label, record the city, county and state where the specimen was found, followed by the date collected, the habitat or activity the specimen was engaged in, and the name of the person who collected the specimen. This might sound like a lot, but it really isn’t. Let’s look at an example:
Identification Label
Solenopsis geminata
Hymenoptera: Formicidae
Tropical fire ant
ID: Bob Gilbert
Collection Label
Scottsdale, Maricopa Co., Arizona
14 August 2025
Colony located in dirt yard
Collected by Berry Hales
Typically, I place the two labels back-to-back with the identification label pointed out (see Fig. 5).


STEP 3: PRESERVATION
Once your labels are affixed, add the specimen and fill the vial with preservative. I use 70% ethanol. If it changes color (for example, taking on an orange-brown tint) from liquids in the specimen, carefully change it out after a couple days. Congratulations — that specimen vial is now complete!
STEP 4: OBSERVATION
These vials are great for training and will last indefinitely. They will usually survive being dropped, as the alcohol acts as a shock absorber to protect the specimen. This means your new hires can pass them around with little or no concern of damaging them while observing the pests’ structures in three dimensions.
Live Demonstration Collections
What about live specimens? For training purposes, live is as close to “in the field” as you can get without, well, being in the field. Preserved specimen vials require much less space and time than live animals, but they will never have the same effect on audiences as a live specimen like a large tarantula.
STEP 1: OBTAINING SAMPLES
Try to collect species that are local to your area. This will allow you to discuss life cycles and control strategies while observing the pests going about their normal activities. Depending on the species you’re interested in keeping, you may be able to find samples available for purchase, but as with preserved specimens, you can reach out to technicians, inspectors or hobbyists to help you grow your collection.
STEP 2: IDENTIFYING YOUR SPECIMENS’ NEEDS.
This is usually straightforward. Remember the pest triangle — food, water and shelter must be met in a captive environment and are critical for success. Below, I’ll briefly outline the methods I use to care for my own live specimens.
Scorpions. I keep three common scorpion species to teach identification and demonstrate why scorpions are hard to kill and how technicians can overcome their defenses. They are kept in an enclosure with sandy soil, a bark slab and rocks to provide shelter (see Figures 4a and 4b). I mist the habitat weekly, while providing crickets or mealworms.
Spiders. All that is needed for a spider habitat is a small container with a good seal that has been modified for good ventilation (see Fig. 6). Depending on the size of the spider, you can provide fruit flies, crickets or mealworms.
Tarantulas. I keep an Arizona blonde tarantula, our most common tarantula species locally, in a 10-gallon glass aquarium with a screen lid. Since this species burrows, her habitat also requires six inches of substrate to dig in.
Stored Product Beetles. I typically keep these species in a quart-sized mason jar to which I add an appropriate food substrate. For example, I keep flour and saw-toothed grain beetles on whole wheat flour, some wheat germ and a little brewer’s yeast. Add the beetles, cover the jar with filter paper, screw on the metal ring and you’re done!
Mealworms. For mealworm habitats, I use a plastic shoebox to which I add a mixture of wheat germ, some whole wheat flour and a tablespoon of brewer’s yeast. A medium-sized potato or carrot works as a water source.
STEP 3: LABELING
Label the habitat with the genus, species and common name of the animal housed within. For potentially dangerous specimens like scorpions, I also use “Caution, Do Not Touch!” stickers on the front of the habitat.
COLLECTIONS IN THE CLASSROOM. How useful these specimens will be depends on how they are organized. For a lesson plan based around insect or pest type, you might group them together by order or family. Carefully consider what information will be the most useful to your new hires.
For use in my own training classes, I purchased a preserved collection of 13 species of cockroach. This collection consists of all life stages — from oothecae to adults — of both sexes of most U.S. species. I first present a carefully designed slide presentation, encouraging audience participation by advising there will be a five-question quiz at the end. We then look at the diversity of species before focusing on those local to our area. We discuss how morphology relates to the pest’s life cycle as well as how it influences control strategies and our SOPs. After examining the specimens, we practice doing a treatment.

When speaking on spider control, I use both live and preserved specimens to help highlight lessons. Preserved specimens are great for filling in live species gaps, as well as allowing for close examination with a field loupe to better show the various spinnerets, fangs and eye patterns (see Fig. 7b).
For stored product pests, I show trainees a mix of live species collected in feed corn. They watch as weevils chew into the kernels where their larvae will develop. The dust created by that feeding is then fed upon by the other species. This demonstration allows me to talk about succession of species in such commodities (e.g., primary versus secondary pests), and is a great lesson for ACE review.
In addition to observation, another use for these collections is pest identification. An unknown or undetermined species can usually be identified by its order readily enough; pull out that order’s collection and they may be able to match the sample to a previously identified specimen.

EXPANDING YOUR COLLECTIONS. Before investing time and money into a vast collection of specimens that would rival those at the American Museum of Natural History, consider your goals. Who is your audience? What are your resources? Many species can be kept in a single jar or small habitat, but a big collection takes time and a bit of money for upkeep.
Keep in mind that a live specimen could be kept just until the class is over — to be later released where it was captured or added to the preserved collection — so before you start knocking out walls to make an insect-rearing lab or museum, find out if you like being a keeper and if they help you in your training. If you are like me, once you start your collection, you’ll be hooked.
Bob Gilbert is the staff entomologist and training manager for Blue Sky Pest Control in Arizona (blueskypest.com). He is a board certified entomologist in urban and structural entomology and holds a master of science degree in entomology from Clemson University.
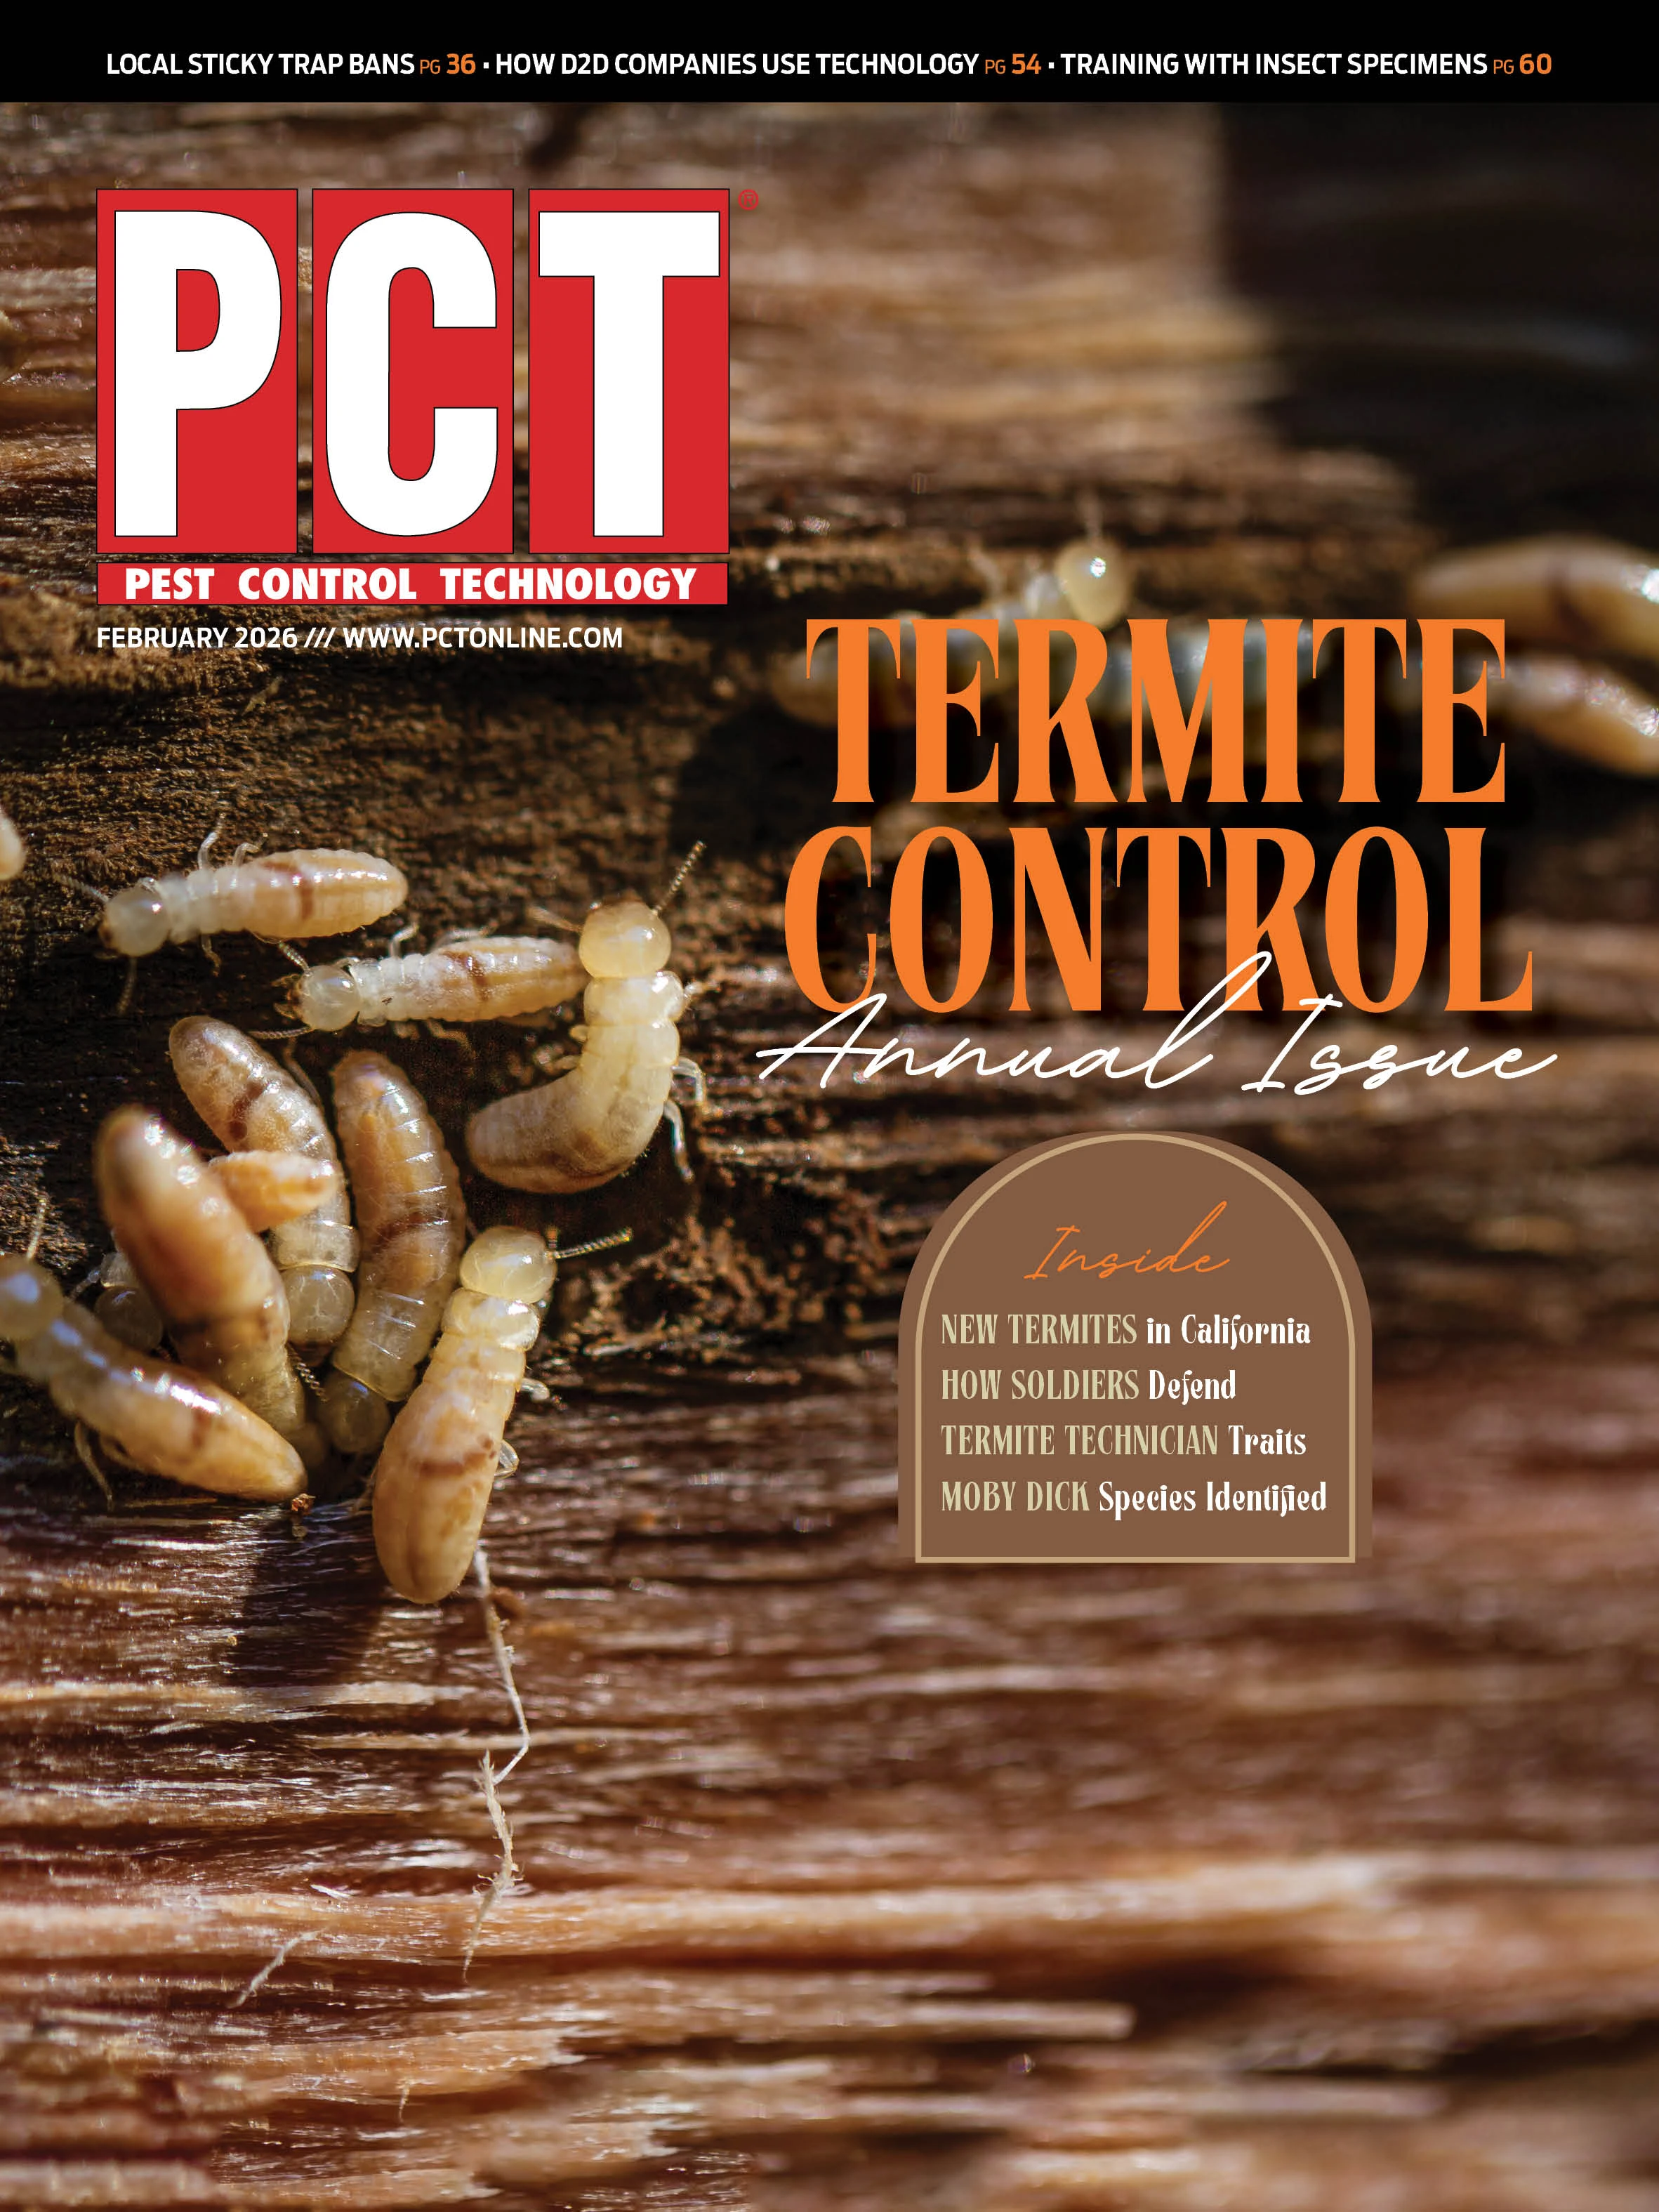
Explore the February 2026 Issue
Check out more from this issue and find your next story to read.
Latest from Pest Control Technology
- TRUCE Software Secures Series B Funding
- Richard Spencer Reviews Safety Standards and Training for Technicians
- Kimberly Camera, Canine Team are Hot on Rodent Trails
- Inside the Latest Issue: PCT February 2026 Highlights
- WSPMA Launches First Legislative Day, Testifies Before House Agriculture Committee
- Envu to Host Free Mosquito Control Webinar
- Cetane Associates Adds Balque
- UK Short Course Provides Training on IPM Strategies, Research Updates